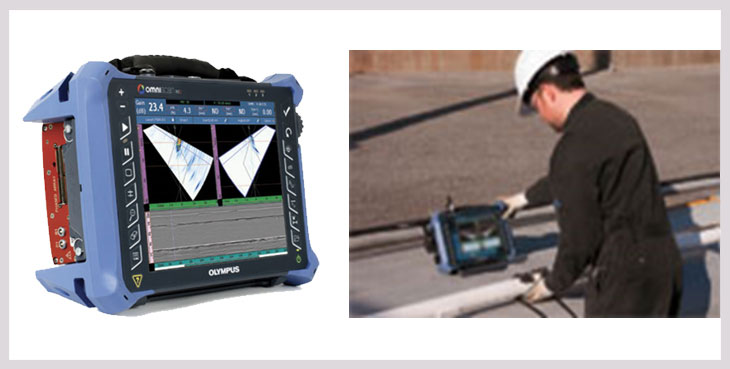
Phased Array Ultrasonic Testing (PAUT)
Phased Array Ultrasonic Testing (PAUT)
A.Is an advanced non destructive examination technique that utilizes a set of ultrasonic testing (UT) probes made up of numerous small elements, each of which is pulsed individually with computer-calculated timing. This technique can be used to inspect more complex geometries that are difficult and much slower to inspect with single probes. PAUT can be used to inspect almost any material where traditional UT methods have been utilized, and is often used for weld inspections and crack detection.
It can easily be used for repeat scans because it has a high degree of repeatability. By emitting beams of multiple different angles sequentially, PAUT is able to create detailed and accurate cross-sections of a part. It is also particularly useful in situations where there is less room for mechanical scanning because its able to sweep the beam without moving the probe.
B. Phased array ultrasonic systems utilise multi-element probes, which are individually excited under computer control. By exciting each element in a controlled manner, a focused beam of ultrasound can be generated. Software enables the beam to be steered. Two and three dimensional views can be generated showing the sizes and locations of any flaws detected.
Phased array
The multiple waves add up to one single wave front travelling at a set angle. Beam steering and focusing capabilities are key in enhancing resolution, which results in faster inspection time and increased probability of detection.
Unlike conventional and automated ultrasonic testing, which is performed for fixed angles of 45, 60 and 70 degrees, phased array testing can cover all angles in this range simultaneously. This is significant since a single phased array inspection can cover all angles from 40-75 degrees and displays the image in real time. The real time image is a direct superimposition of the ultrasonic illumination on the test piece and is easy to interpret. Using swept angle S-scans, PAUT requires smaller surface distance for inspection compared to AUT or manual UT. PAUT can cover a large cross-section of the test piece from a single probe location. Through the testing of sample plate and pipe sections, PAUT has proven its ability to detect weld flaws such as: toe cracks, center line cracks, lack of fusion, lack of penetration, slag and porosity. Additionally, the ability of PAUT to minimize the focal spot size at a defect location has allowed for increased accuracy of flaw sizing.
Phased array can be used for the following industrial purposes:
• Inspection of welds
• Pressure Vessel Weld Inspection
• Weld Inspection of Small-Diameter Pipes
• Composite Inspection Manual and Semi automated
• Corrosion Mapping
Advantages
• Beam focusing
• Beam steering
• Linear or sectorial scans
• Permanent data storage
• Display enables flaw visualisation
